
Content
- Create privacy in the garden itself - so it succeeds with prefabricated elements made of wood
- Screening fences are subject to building regulations
- Material and tool list
- Preparatory work - so you keep the orientation
- Use posts for fence elements - that's how it works
- Attach fence elements - you should pay attention to this
- Concrete corner posts - so you do it right
- Wood stain protects against the weather
- What to do on sloping terrain?
- Tips
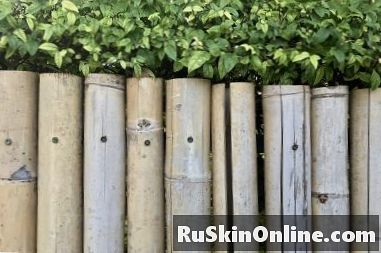
A skilled handyman can easily build his own garden fence
Create privacy in the garden itself - so it succeeds with prefabricated elements made of wood
Who likes sunbathing under the curious eyes of neighbors? With a privacy you not only protect your privacy, but are also protected from annoying wind. Prefabricated elements made of wood are practical and cost-effective, in order to build a stable and decorative privacy protection from it. This guide explains how to do it right.
Screening fences are subject to building regulations
Before the start of the construction works, please contact the local building authority. The creation of enclosures is subject to different requirements in the individual federal states. These not only affect the height and the distance to the neighboring property. In some regions, certain materials or a maximum height are required for a fence.
Material and tool list
Competent suppliers of fence elements as privacy protection provide various planning aids to determine the exact number of elements. Since most modules can not be shortened afterwards, a detailed, true to scale sketch is indispensable. In addition to the fence elements, the following tools and materials are required for the construction:
If a privacy element joins a house wall, you need additional wall anchors for the attachment of the corner posts.
Preparatory work - so you keep the orientation
Mark the exact shape of the privacy fence by using a taut brick line from corner posts to corner posts of each fence element. If the privacy screen is over corner, align the gradient using a construction angle. Along the taut string mark the positions of the posts with adhesive labels. Hang on a sticky note the plumb bob, you know exactly where to dig the hole for the post anchor.
Use posts for fence elements - that's how it works
After determining the positions of the corner posts of the fence elements, it is best to lift all the pits in one go. How to do it right:
As a rule, at least 4 fittings per post are needed to fix the fence elements later. So that the wood does not break, please drill each screw hole.
Attach fence elements - you should pay attention to this
To prevent large fencing elements from deflecting, protect the lower edges with piled-up stones. In this operation, we recommend a second man as a helping hand. With wooden wedges you align each module straight. Proceed as follows:
The challenge with this step is to add stability to the post, which has not yet been set in concrete, so that you can screw the fence elements to it. Lay bricks on two sides of a post. Now push a sturdy wooden slat through the post anchor so that it rests on the surfaces of the stones. If it still lacks stability, slide wedges between right and left.
Concrete corner posts - so you do it right
With wooden slats you support the view protection provisionally. Only be satisfied with the alignment when the spirit level confirms a vertical adjustment. Now pour ready-mix concrete or screed concrete into the post holes. Do this in layers by tilting concrete and water alternately. Smooth the surface with the trowel.
Wood stain protects against the weather
So that your new wooden privacy screen does not weather, paint the fence in the last step with wood stain. We recommend a product with the Blue Angel. This certificate confirms that it contains no harmful ingredients, such as plasticizers and similar chemicals.
What to do on sloping terrain?
If you notice in the planning and dimensioning that your garden has a slight slope, you can straighten the area. Use tensioned stokes and plumb bobs to determine the height difference. Then level it out successively with topsoil until the spirit level signals a level surface.
Greater downside requires a different approach if you build a privacy screen in the garden itself. Under these circumstances, a step-like assembly has been well proven in practice. The posts are cut to size at the bottom. It is important to note that a downhill post at the top always ends flush with the uphill fence element.
Tips
In the natural garden the view protection from shrubs is very popular. With growth rockets, such as privet or cherry laurel, curious glances over the garden fence quickly become a thing of the past. Cost-effective it succeeds with rootless goods that you put in the soil at the best planting time in the fall.