Content
- This is how you fill the raised bed properly
- When is the best time to fill the raised bed?
- The different layers of a raised bed
- Construction of a raised bed in the overview
- The first shift
- The second layer
- The third layer
- The topmost layer
- Fill the raised bed with inorganic materials
- Tips
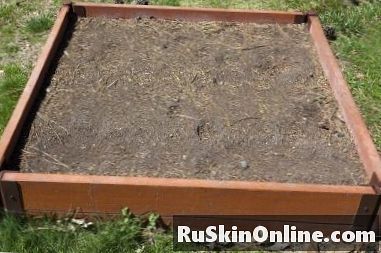
A raised bed consists of several layers
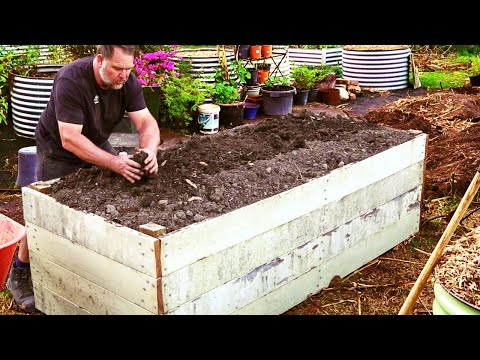
This is how you fill the raised bed properly
After erecting the raised bed of wood, stone or other materials, the most important work now follows: filling. The content of the bed, carefully layered with different materials, finally determines how well the plants cultivated on it will flourish and how high the harvest will be. Of course, such a raised bed can also just fill with soil, but then you renounce as a gardener on some of the key benefits.
Previous article Durable solution for the modern gardener: raised bed made of metal Next article Mini raised bed for balcony and roof terraceWhen is the best time to fill the raised bed?
Raised beds can be filled both in spring and in autumn, with both points of time having their very specific advantages and disadvantages. In the spring, patch beds benefit from the heat generated by the decomposition processes and the soil temperature rises by a few degrees - with the result that these beds can be planted two to three weeks earlier. At the same time, the problem is that the beds are filled just before the gardening season and that they collapse within a few weeks. In contrast, if the raised bed was built in the fall, you can fill it with oil throughout the winter: vegetable waste from the kitchen, fallen leaves, grass clippings, shredded cuttings, pet bedding, hay and straw ... the raised bed acts as a composter of the materials already decomposed during the winter months.
The different layers of a raised bed
Raised beds consist of different layers, from bottom to top first coarse, then finer material is used. The individual layers should never be too thick. Grass clippings, for example, are always sprinkled thinly and loosely into the bed so that nothing sticks together and as a result no mold can form. Between the individual layers, you repeatedly sprinkle thin layers of semi-ripe or mature composts, which inoculates the contents with microorganisms and thus promotes a faster decomposition of the material. In addition, the filling with fine earth layers prevents the formation of cavities in the bed interior - this can prevent a jerky, strong sinking of the raised bed.
Construction of a raised bed in the overview
When filling up, make sure that the material used is not too dry. A certain humidity - not wet! - Already during filling would be ideal, but can also be achieved by the slight overshoot fresh layers strewn.
The first shift
The lowest layer of the raised bed consists of coarse materials such as branches, twigs and even inorganic materials such as stones, debris or gravel. This first layer is used for drainage and should ensure that excess water can drain off quickly. With the appropriate construction of the raised bed, you can also make this layer with flat stones and larger stone slabs so that smaller animals such as lizards, crawlers or bumblebees find a home here.
The second layer
The next layer is basically all green waste from the kitchen and garden: vegetable waste, leaves, grass clippings, grass sods and weed weeds (but no root weeds such as greed, couch grass, turnip or winches!). If you want to use the raised bed already in early spring as a cold frame, this layer also comes with a layer of horse dung about 40 centimeters thick. This must be well tamped before you pack more layers. Horse manure is important for cold frames in that it develops a lot of heat.
The third layer
This is followed by several thin layers, depending on which filler you have at hand: grass clippings, half-ripe compost, animal litter, leaves, chopped wood, garden waste and the like. Between the individual layers there are always thin layers of mature compost as well as horn shavings and rock flour. These cause the filled material to create a particularly valuable and nutrient-rich soil.
The topmost layer
The conclusion is always a minimum of 15 centimeters thick layer of good potting soil or very mature compost. Under no circumstances should this layer of soil be too thin, as plants cultivated on the bed will not find enough space for their roots, and growth in the sequence will be difficult. When asked which soil should be used, the answer is basically very simple: choose a high-quality and humus-rich potting soil, which you can mix with ripe compost if necessary. By the way: with bark mulch you can later mulch the plants in the raised bed and thus mitigate the shooting of weeds.
Fill the raised bed with inorganic materials
Instead of using coarse vegetable material, you can also use non-erodible inorganic fillers such as stones and stone remnants, gravel, grit, sand, gravel, expanded clay or granules (eg lava) for the lowest layer. These have the advantage that the bed will no longer sink so much in the episode. However, at the same time the proportion of organic green matter is reduced and thus also the proportion of newly formed soil. Thus, the plants have less nutrients available.
Tips
In the raised bed, do not compost plants that multiply over their roots or tubers - mints, Jerusalem artichokes and various weeds would even reach the surface from the deeper layers and reproduce diligently there. By contrast, seed weeds, such as the notification, are unproblematic because the seeds and seedlings generally do not survive the high temperatures inside.